|
So far, many of my projects have been inspired by Pinterest. When I find my next project I try not look up if there is an existing pattern, and even if there is, I try not to look at it. I find it both challenging and fulfilling to plan and create my own patterns based on looking at a picture. It's like figuring out a puzzle but in the case of crochet, I get to figure out the number of stitches, rows and shapes required. This also allows complete customization and the ability to create a project to a size that works for me. I find it's best to break down a project into its most basic parts or shapes. Let's take my unicorn as an example. This unicorn has three main sections: a head, a body and limbs; each section can be broken down into their own basic shapes. From my post "First (successful) attempt at Amigurumi" I noted a few shapes which I believe are key to know in order to make Amigurumi. To complete the unicorn I needed to understand these shapes: sphere, cylinder, tube, cone and triangle. 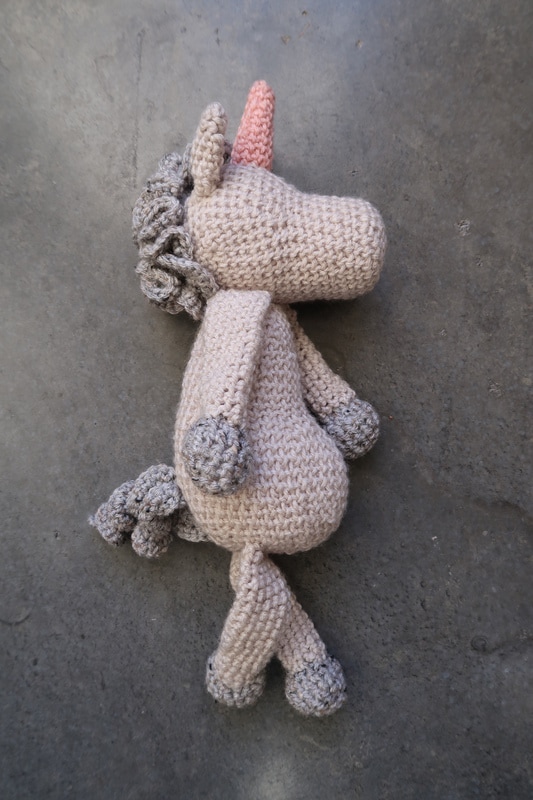 Let's look at the head first: the head has a mane, horn and ears attached; break it down even further, the head is a sphere attached to a cylinder (the snout), the horn is a cone and the ears are triangles (flattened/not stuffed in this case). The mane isn't actually a basic shape in this case.* 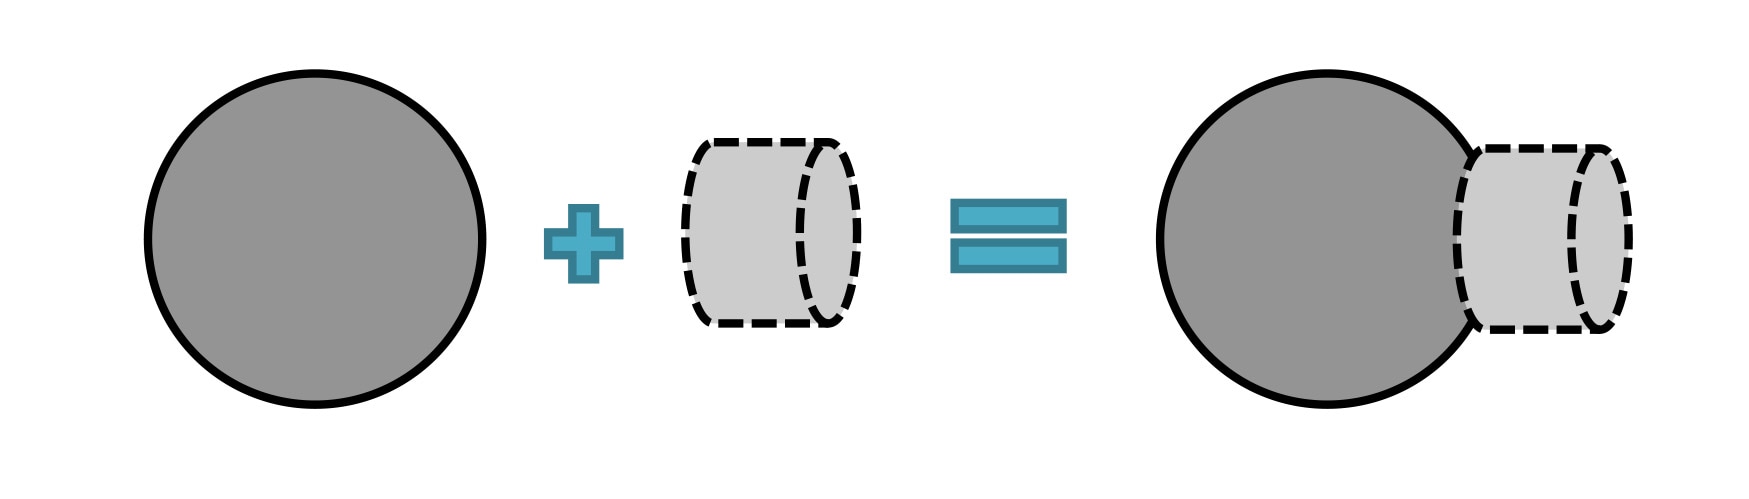 Before I start a project, I map out a formulaic pattern. This way I can plan what shapes I need to make and how many of each. Then I determine size and how to connect them all. Below is an example of my "unicorn formula". 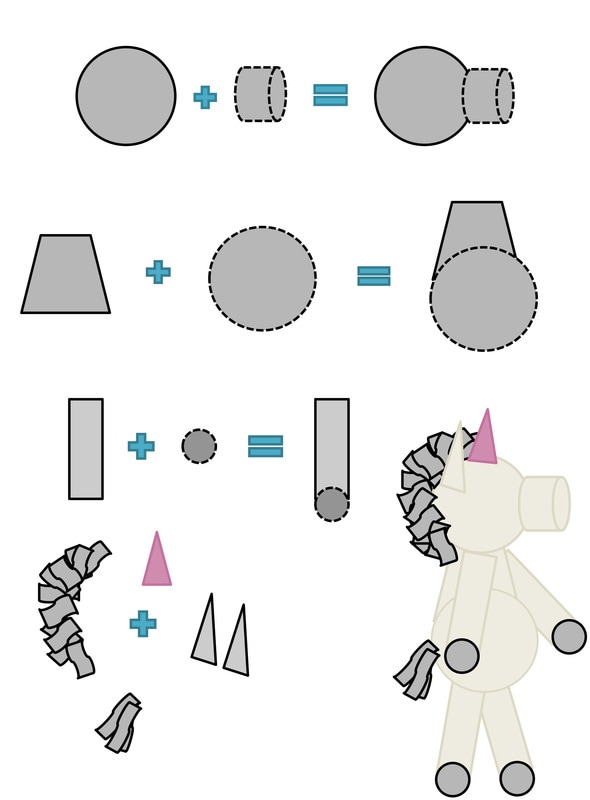 Breaking down the unicorn into basic shapes makes the project look less intimidating, especially if you've had lots of practice making these shapes. Once you're reached this level, the next step is learning how to connect all the shapes together. It's important to know when and where within a shape to increase/decrease and even more important that you count your stitches. For example, as I was building the unicorn's body, I added evenly spaced increases to the 'cylinder' thus turning it into a wide cone. I then added increases to only one side of the cone to create the belly; this way the unicorn has a 'back' on one side and a 'belly' on the other. By keeping things simple and a plan laid out, this helps make the project repeatable and easy to follow. This method works for me and hopefully it can help you too when you are planning your next project. Everyone learns differently though and I'm always looking for ways to increase efficiency, so if you have any tips I would love to hear them! *The mane is completed by first making a row of X number of sc stitches, and then in each consecutive row after that, you make an increase in every stitch. This results in a beautiful curly mane. The same technique is used for the unicorn's tail as well.
Unicorn Materials: - J size hook (6 mm) - 1 ball (156 m) of Lion Brand Yarn "Vanna's Choice" in Linen (medium; 4): used for body - 3/4 of ball (133 m) of Lion Brand Yarn "Vanna's Choice" in Grey Marble (medium; 4): used for mane, tail, hands and feet - Lion Brand Yarn "Vanna's Choice" in Pink (medium; 4): used for horn.
0 Comments
Leave a Reply. |
Melissa LuangsiripanyaHi there! I'm a self-taught casual crocheter. Here you will find more details on how I made my projects as well as stories of hardship, frustrations and success! Archives
July 2018
Categories
All
|
