|
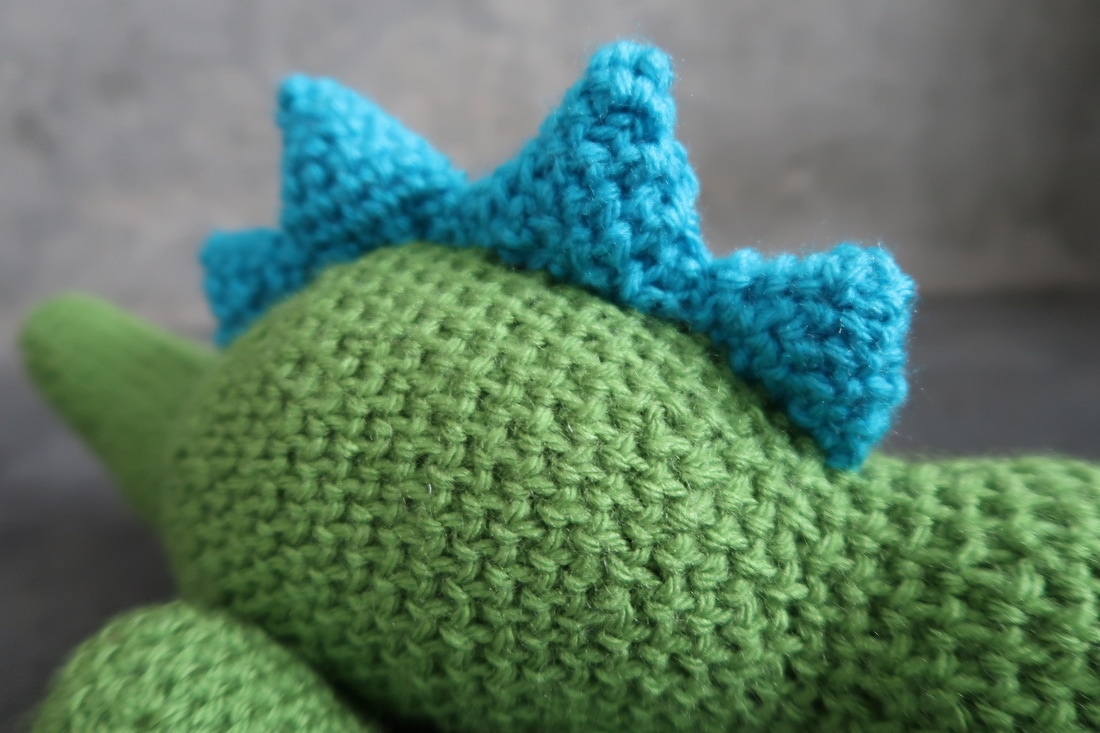
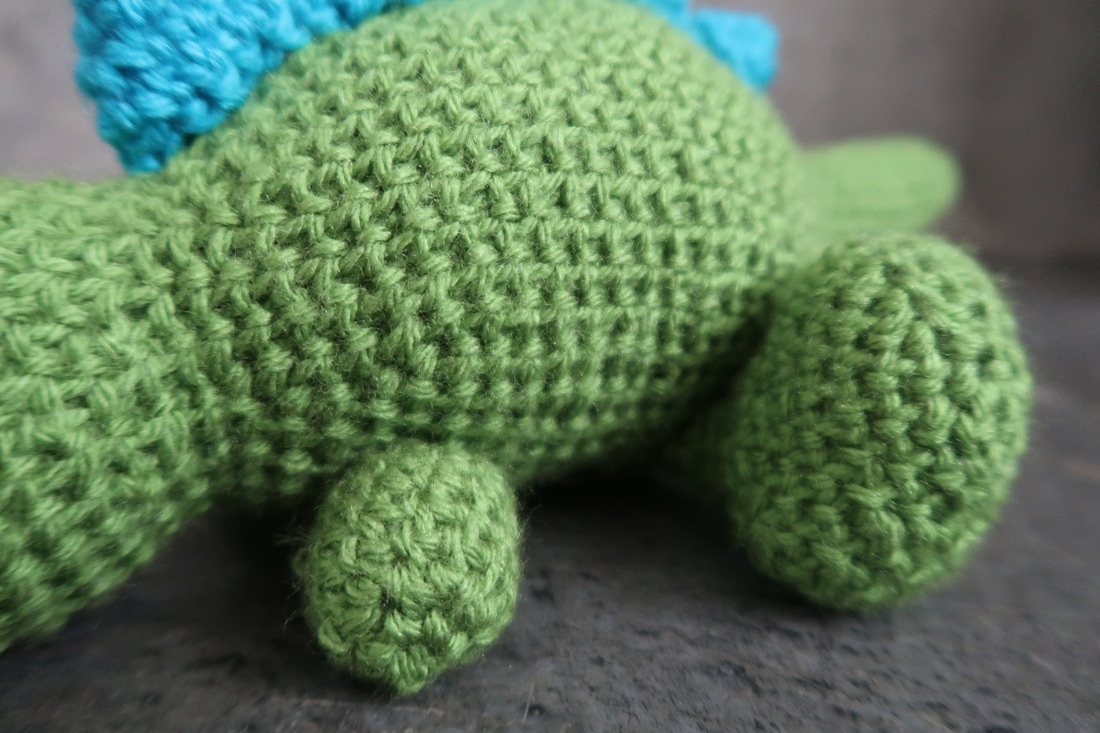
The best crochet projects are the ones that I'm gifting. The thought of smiles on my friends faces and an image of their future little one holding this - priceless. With their first child on the way (a boy!) and a love for dinosaurs by the parents-to-be, I couldn't resist making this baby dino for them. 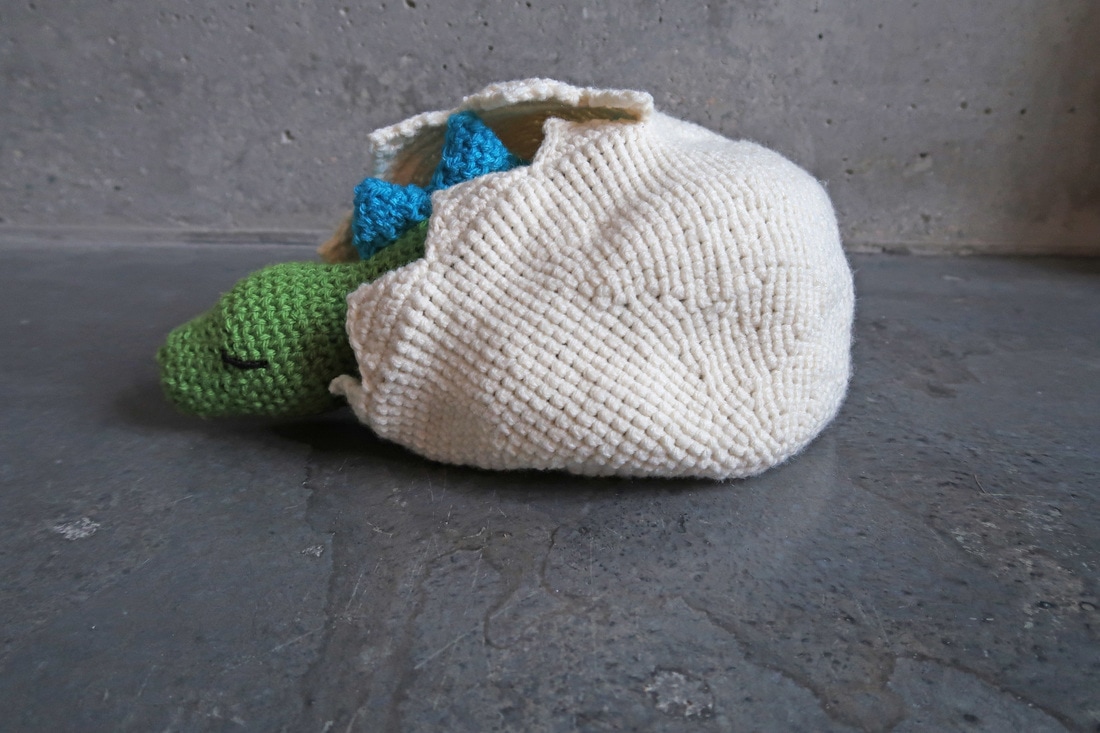 To my surprise, this dinosaur was one of my quickest projects to make so far. The body is one piece created starting at the head and continuing on to the tail. All limbs were made separately, stuffed and sewn to the ventral side of the body. All four dorsal spikes are individual triangles which were lightly stuffed and sewn to the body.
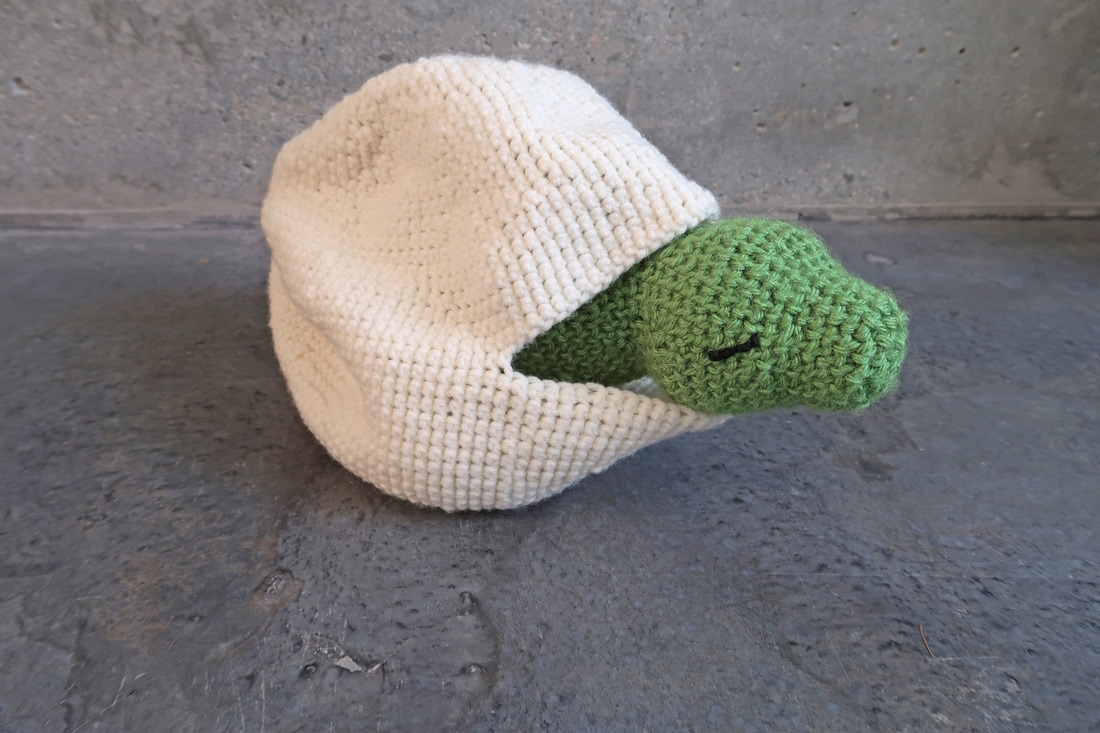
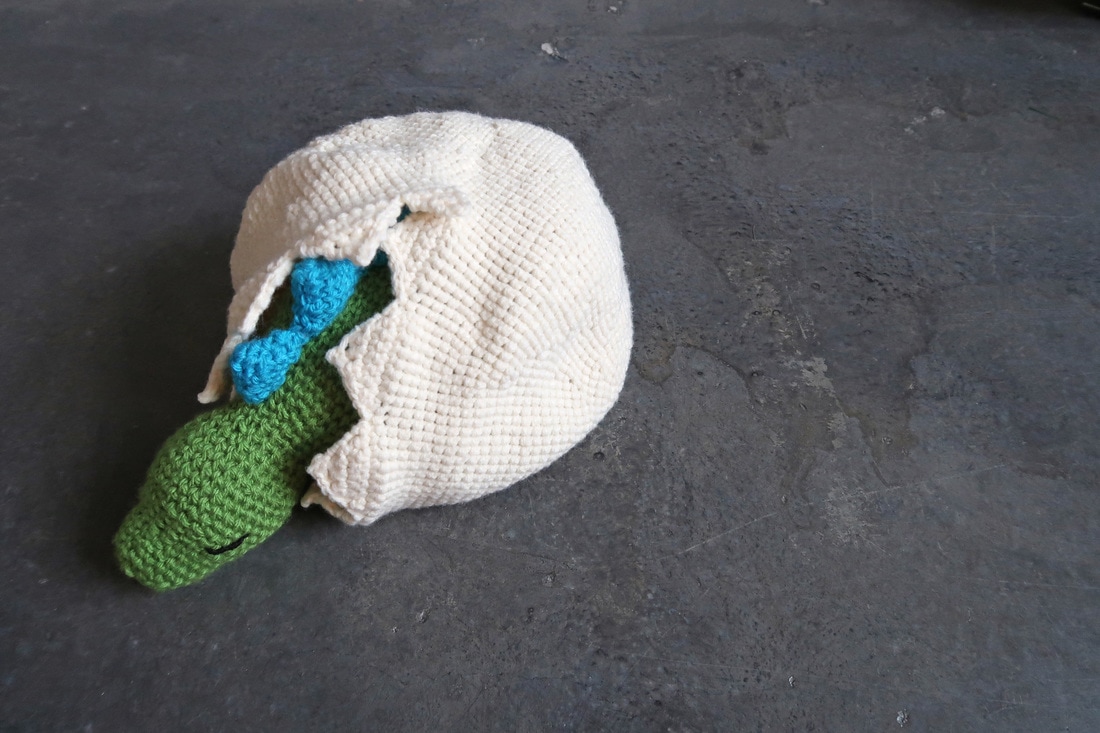
I tightened up my tension and used a smaller hook than when I created the unicorn. This resulted in a firmer body. In some situations that may not be ideal, but I think it adds to it's durability as I imagine the baby will be squeezing and handling the dinosaur a lot. Attaching limbs is my kryptonite. I usually attach limbs, undo it all and re-attach them a few times before I am satisfied with the placement. This dinosaur was no exception as I struggled with attaching the rear legs. At first I placed them too far ventrally (towards the belly), then too far out on the sides; I was trying to get to that happy place where it looked like the dinosaur just flopped down and took a nap. If you want to avoid all the attaching and re-attaching I went through, I highly recommend using stitch markers to loosely attach the limbs and mark the exact placement. When I completed the dinosaur I felt like something was missing. That is when I came up with the idea of making an egg from which the dinosaur could "hatch" from. I didn't want to sew two halves together so at the mid-point (row 28), I added stitches to the round like normal, but only halfway, and then I made a chain the length of the remaining number of stitches in the round to create the 'break' in the egg. Then in the next row, I stitched through the chain I had just created and half of the original round. After that, it was business as normal and I continued making the second half of the egg. The triangular edging was added once the egg was completed and what a difference the edging makes! 2018.07.23 Pattern now available!
Baby Dino Materials: - 4.25mm hook - Lion Brand Yarn, "Vanna's Choice" in Fern; 170 yds, 3.5oz/156m, 100g [medium, 4]; 1 ball. Used for the Dino body. - Lion Brand Yarn, "Vanna's Choice" in Aqua; 170 yds, 3.5oz/156m, 100g [medium, 4]; 1 ball. Used for Dino dorsal spikes. Dino Egg: - 4.25mm hook - Loops & Threads, "Impeccable" in Aran; 277yds, 4.5oz/253m, 127.5g [medium weight]; 1 ball 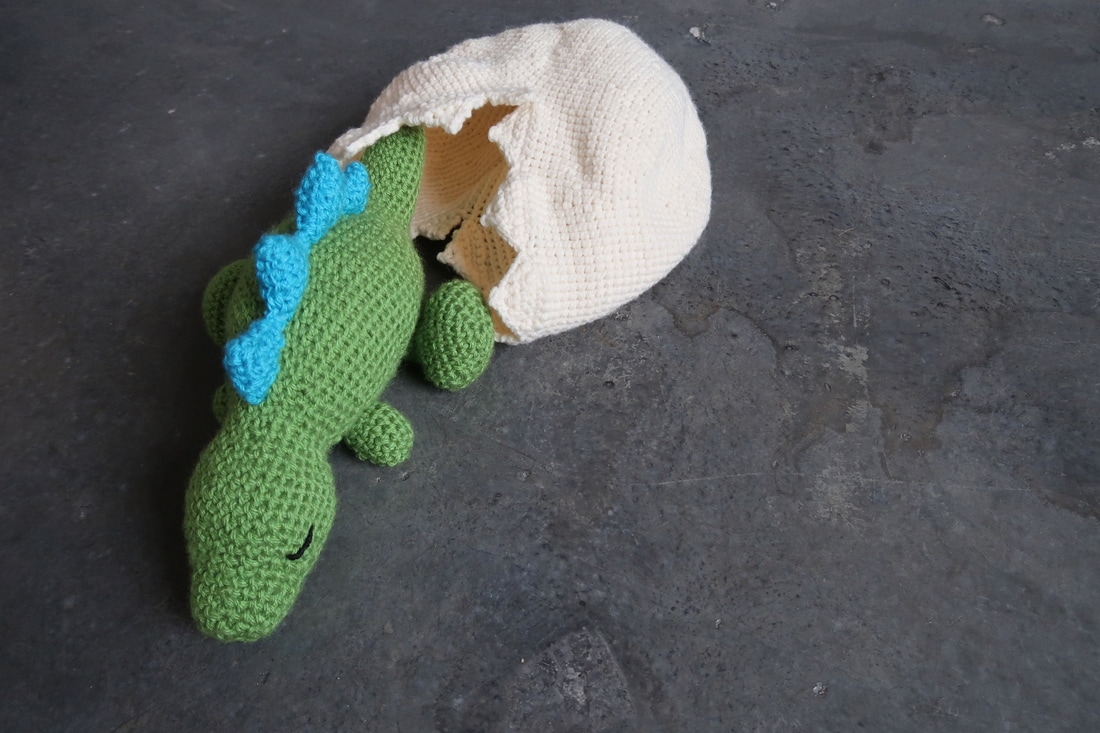
2 Comments
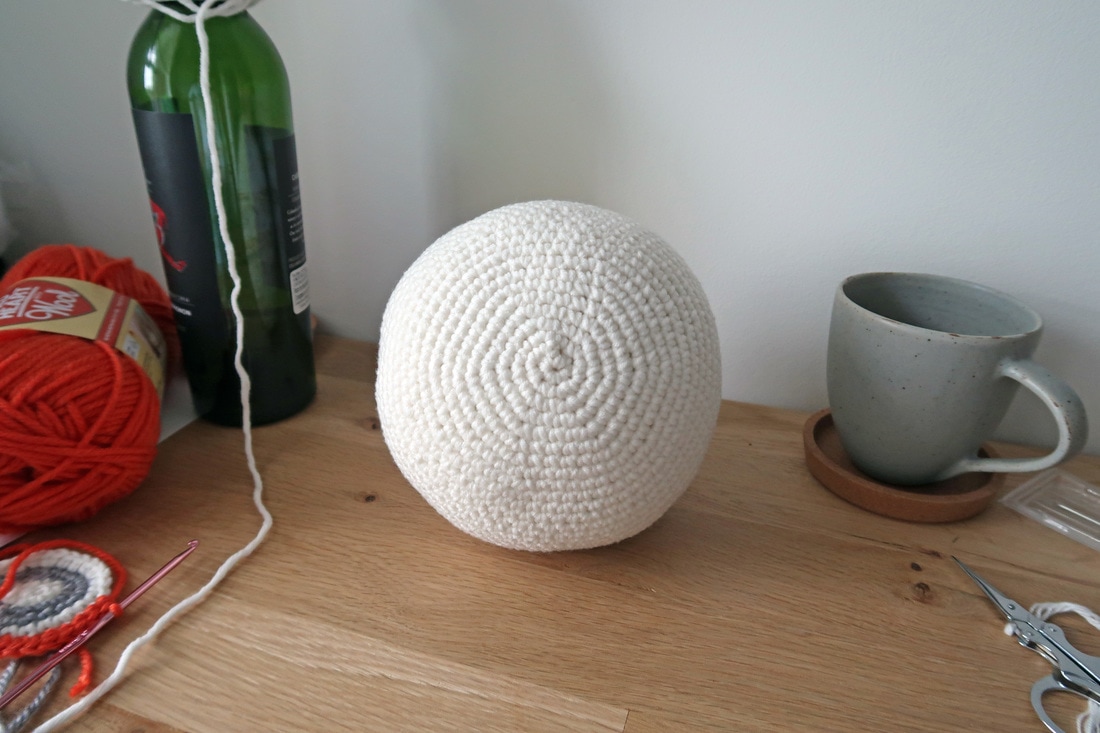
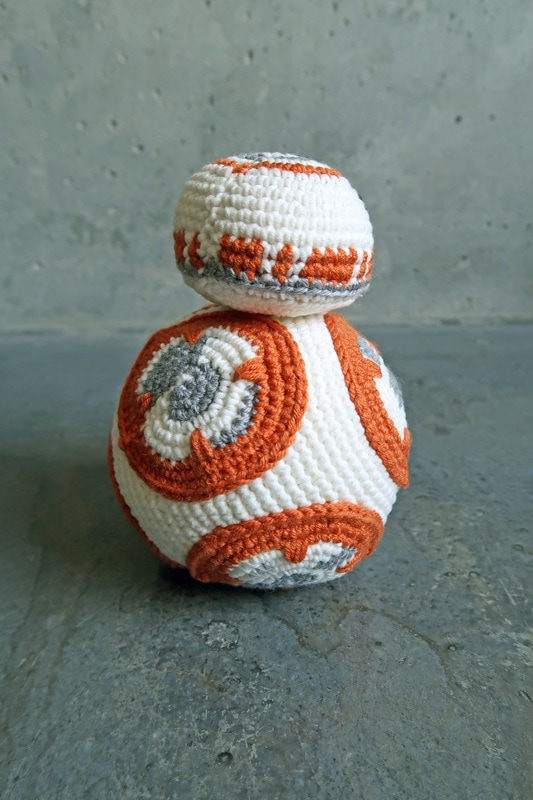
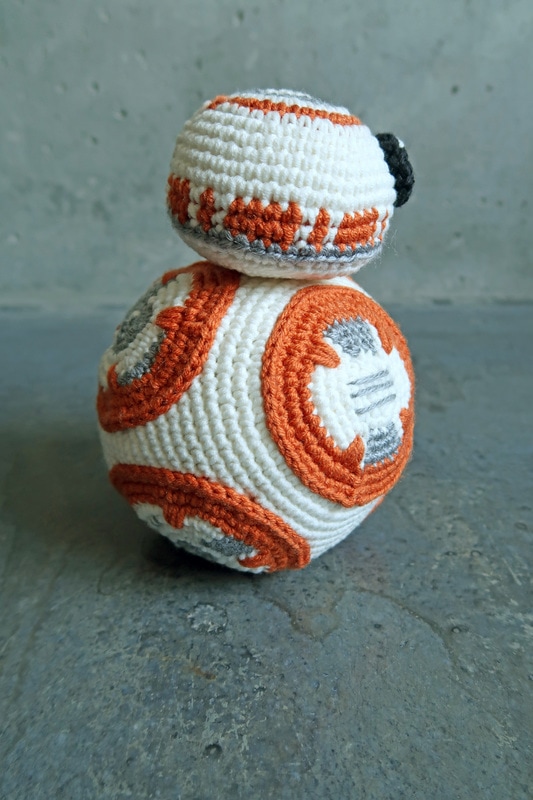
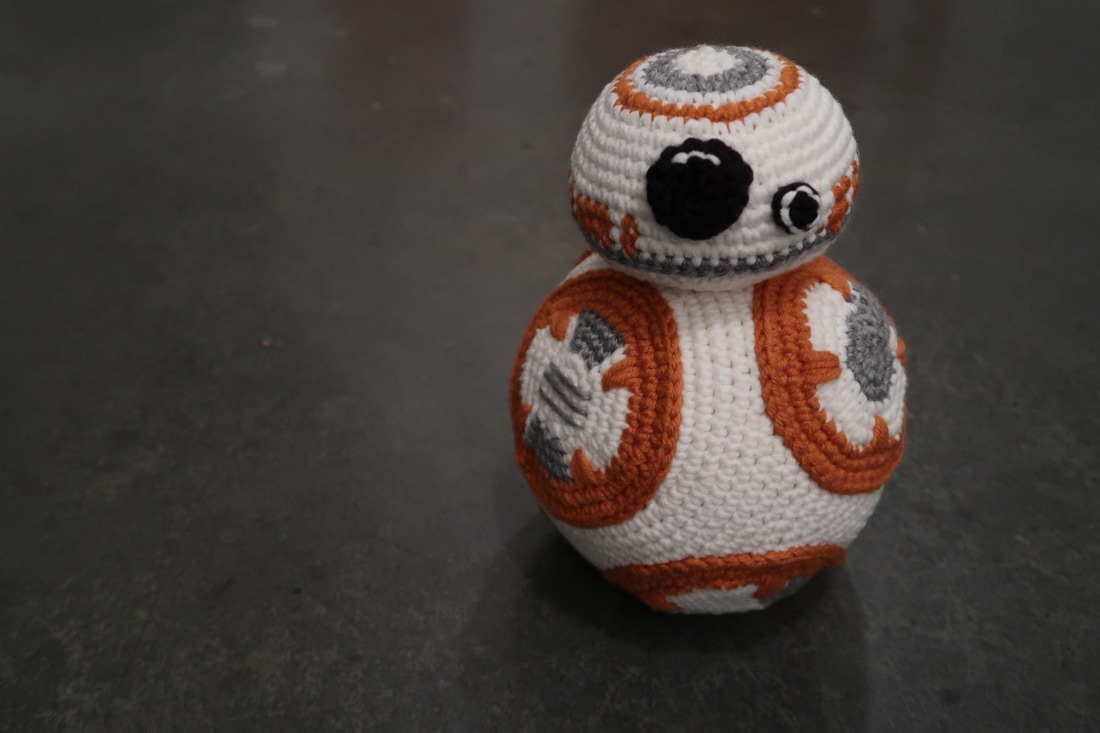
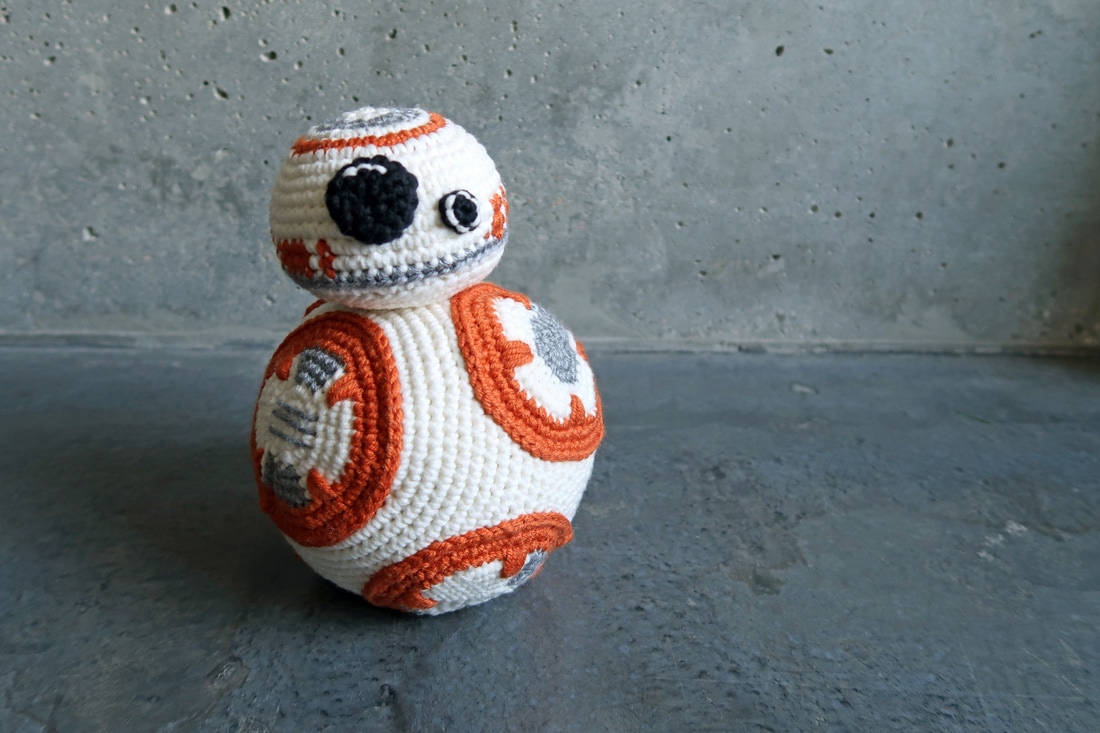 As promised, I've returned with the full details on the BB-8 I created for May the 4th (see original post here). I was very hesitant to create BB-8 as I thought it would take me forever (or never) to figure out a pattern to make BB-8. Luckily, I found a pattern by the creator of the "Ideal Sphere" patterns (which I love!). I thought it was too good to be true when I saw she had posted a BB-8 she had made on her blog AND that she had a pattern available to purchase. I immediately purchased a pdf copy of the pattern from her Etsy shop: MsPremiseConclusion. Since I have been using her patterns for spheres, I found the language used in the pattern very easy to follow. The pattern is very thorough and includes a list of what yarn you will need, final size of BB-8, and hook size. She has also included extra information regarding right side vs. wrong side and switching colours. Within the pattern, each part of BB-8 is broken down into pieces which you are instructed to make and sew together at the end; all steps have at least one colour picture for reference.
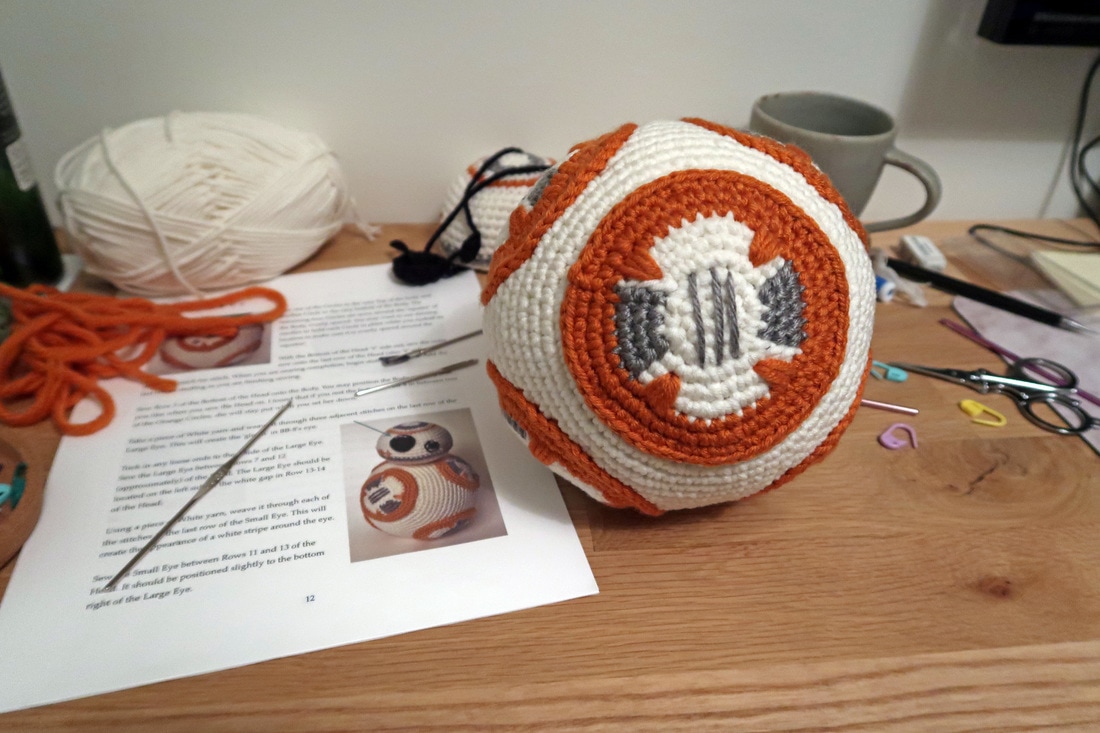
Her pattern is AMAZING! She has even included unique patterns for each 'circle' that is on BB-8's body. She is obviously very into Star Wars and has put extreme care and attention to ensure BB-8 looks as accurate as possible - something I cannot express enough how much I appreciate! I probably should have tried harder to find an orange yarn in a medium weight. Since I ended up purchasing something that was bulky, I actually used a 3.0mm hook whenever I was using the orange yarn. Otherwise, if I had used a 3.5mm hook for the orange yarn, the size (especially for the circles) would have been off. I honestly cannot think of what I would do differently regarding the pattern itself. My BB-8 looks quite similar to hers which is just proof that her pattern works! I highly recommend this pattern and believe the cost to purchase the pattern was fair and SO worth it!
BB-8 Materials: - Loops & Threads, Ringspun yarn in Off White (medium weight [4], 145m/100g); I used one complete ball plus a little bit from a second ball. - Lion Brand, Lion's Pride Woolspun yarn in Pumpkin (bulky weight [5], 116m/100g); a bulky weight ended being chosen because I gave more priority on finding the the right 'orange'. I used about half of one ball. - Red Heart, with wool in Jet (worsted weight [4], 131m/100g); I used very little of this yarn, probably less than 2 m. If you already have a spare ball in black, do not purchase a new one. - Red Heart, Soft in Light Grey Heather (worsted weight [4], 194m/113g); I only used about a quarter of a ball.
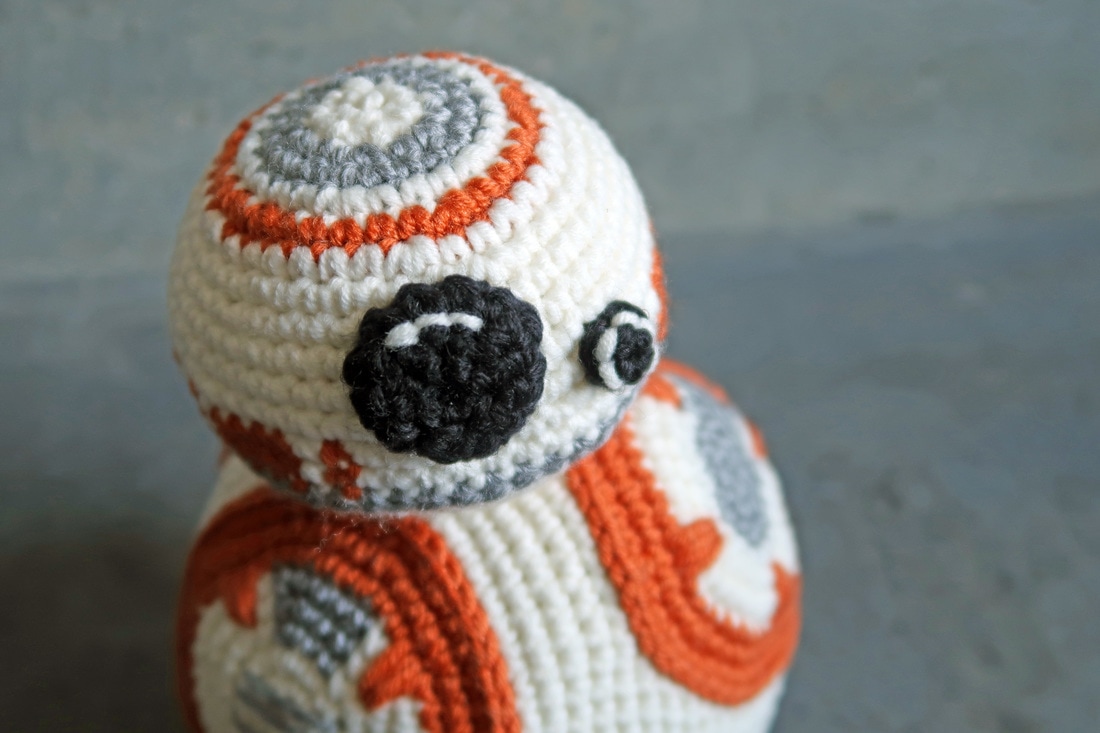
 Normally I wouldn't post such a brief post, but I HAD to share this picture of the BB-8 I made because it's May the 4th! I made it just in time, but unfortunately not enough time to provide the complete details. Long story short, I followed a pattern (which I purchased from Etsy - it made making BB-8 a dream come true!
I promise to add further details on which pattern, a quick review of it, and all the materials I used to create this BB-8. Check back soon! |
Melissa LuangsiripanyaHi there! I'm a self-taught casual crocheter. Here you will find more details on how I made my projects as well as stories of hardship, frustrations and success! Archives
July 2018
Categories
All
|