|
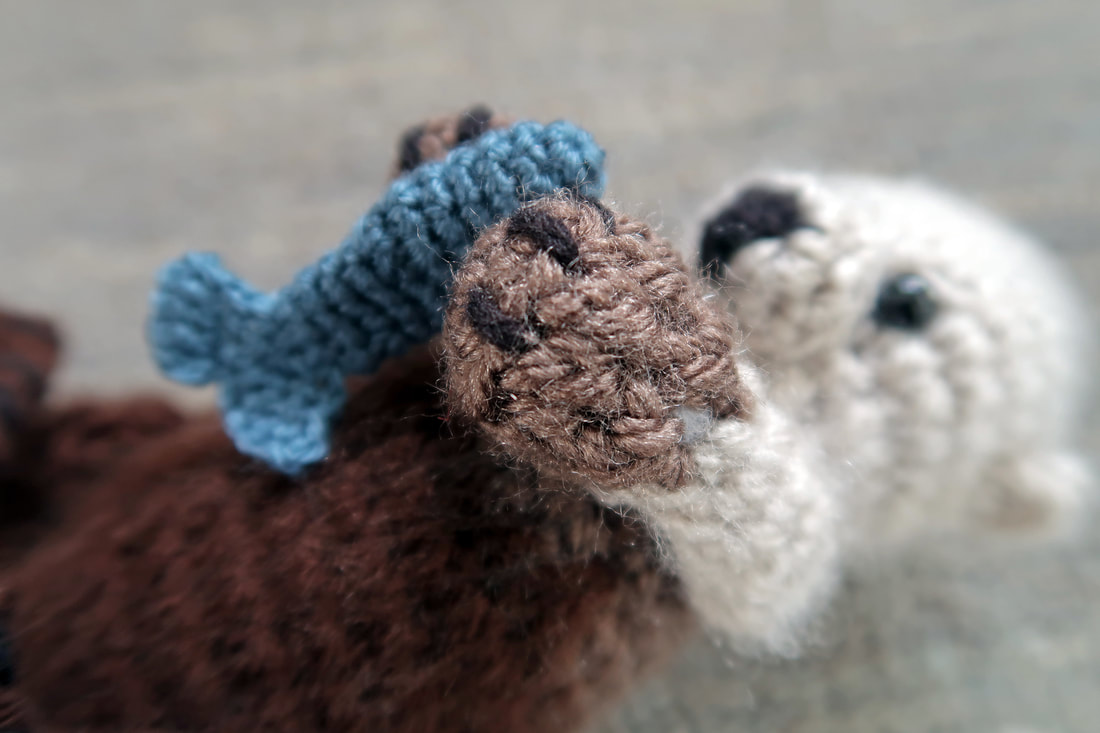
Inspired by the amazingly cute sea otters at Vancouver Aquarium! (Please click here for original blog post). Please be advised this pattern was created when the otter was made and therefore has not been tested. If you find any errors or have any questions please let me know. You are welcome to use this pattern to make as many otters as you wish, I only ask that you give me credit and refer people directly to my website for the pattern. Thanks so much, enjoy! 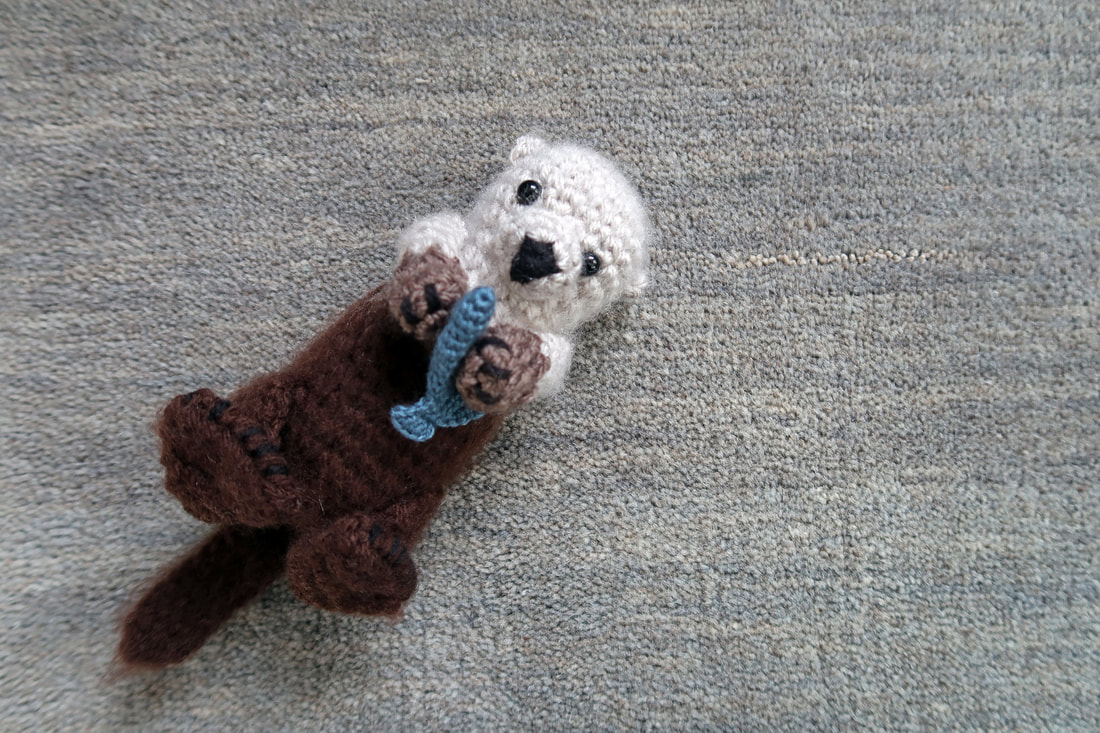 Materials: - Yarn in 4 colours in worsted weight: 1) linen/natural 2) taupe 3) dark brown 4) black (in pattern, yarn colours 1, 2, and 3 will be referred to as light, medium and dark, respectively) - 3.5 mm crochet hook (or size which achieves sufficient tension) - poly fill/stuffing - *optional* safety eyes 4-6 mm; otherwise embroider eyes on - tapestry needle - scissors Techniques: - single crochet - magic circle or preferred method to start a round (ie. chain 2, SC into second chain from hook) - working in the round - increase (2 single crochets in same stitch) - decrease (single crochet two together) - changing colours - single crochet in back loop only - single crochet in the stitch in the row below - sewing parts together Abbreviations: [ ] - total number of stitches in a round SC - single crochet SCRB - single crochet into stitch in the row below HDC - half double crochet St(s) - stitch(es) Inc - increase Dec - decrease Even - work same number of stitches as previous round (single crochet, no increases or decreases) Notes on instructions: - "2 SC" means do two consecutive single crochets (5 SC mean 5 in a row, etc) whereas "inc" means do two single crochets in the same stitch. - Single crochet in the stitch in the row below or "SCRB" (not an official/standard crochet abbr.; just one I made up for this pattern). Refer to pictures below:
Head (starts at top) 1. Magic circle, 6 SC [6] 2. Inc in each st [12] 3. (Inc, SC), repeat ( ) to end of round [18] 4. (2 SC, inc), repeat to end of round [24] 5. Even [24] 6. Even [24] 7. Even [24] {place a marker in this row; marks eyes and snout placement for later} 8. Even [24] 9. (2 SC, dec), repeat ( ) to end of round [18] 10. (SC, dec), repeat ( ) to end of round [12] {this is the otter's neck} *If using safety eyes, this is a good time to insert and secure them. Place eyes between rows 7 and 8, 4 sts apart. *Stuff otter's head and continue stuffing as you work the next rows. 11. (SC, inc), repeat ( ) to end of round [18] 12. (5 SC, inc), repeat ( ) to end of round [21] {change to medium yarn} 13. (6 SC, inc), repeat ( ) to end of round [24] 14. Even [24] 15. (7 SC, inc), repeat ( ) to end of round [27] {change to dark yarn} 16. 7 SC, 1 SCRB, 2 SC, 1 SCRB, 2 SC, 1 SCRB, 3 SC, 1 SCRB, SC to end of round [27] 17. Even [27] 18. (5 SC, dec), repeat ( ) to end of round [24] 19. Even [24] 20. Even [24] 21. Even [24] 22. (2 SC, dec), repeat ( ) to end of round [18] 23. (SC, dec), repeat ( ) to end of round [12] 24. (dec) x 6 times [6] -Fasten off, close circle and weave in end Snout In black: 1. magic circle, 5 SC [5] 2. Inc in first st, {switch to light yarn} (inc in next/second st) repeat ( ) 3 more times [10] 3. Even [10] - Fasten off, but leave a long tail to stitch snout to the face. Place the top of snout below row 7 of the head. The black stitches (inc) from round 2 should be oriented on the bottom ie. the black yarn should look almost like a 'keyhole' shape. Arms (make 2) In medium yarn: 1. magic circle, 6 SC [6] 2. (inc, SC) 3 times [9] 3. All in back loop only, 2 SC, 5 HDC, 2 SC [9] 4. SC, (dec 3 times), 2 SC [6] {change to light yarn} 5. Even [6] 6. Even [6] 7. Even [6] 8. Even [6] 9. (inc, SC) 3 times [9] - Fasten off, close circle. Leave a long tail for attaching to body - Using black yarn, sew 3 lines to define paws Legs (make 2) In dark yarn: (starts at thigh end) 1. magic circle, 8 SC 2. Inc in each st [16] 3. Even [16] 4. Even [16] 5. 8 SC, (dec 4 times) [12] 6. 4 SC, (dec 4 times) [8] 7. 4 SC, (dec 2 times) [6] 8. Even [6] 9. (inc, SC) 2 times [8] 10. (SC, inc), repeat ( ) to end of round [12] 11. (2 SC, inc), repeat ( ) to end of round [16] 12. Even [16] - Fasten off and leave a long tail. Do not stuff. Press foot flat to create triangular flipper shape. The foot should be perpendicular to the upper leg. Using tail yarn, sew the foot closed. Sew 5 lines in black yarn to define feet. Tail In dark yarn: 1. magic circle 8 SC [8] 2. Even [8] 3. Even [8] 4. Even [8] 5. Even [8] 6. Even [8] 7. Even [8] 8. Even [8] 9. (inc, SC), repeat ( ) to end of round [12] 10. (inc, SC), repeat ( ) to end of round [16] 11. Even [16] - Fasten off, leave a long tail for attaching to the body. Do not stuff, press tail flat and sew to the body. Ears (make 2) In light yarn: 1. magic circle 3 SC, 1 HDC, 3 SC - Do not close circle. Leave a tail for attaching to the head. Sew ears on so that the HDC is on top and sticks out from the head and the first and last SC are flush to the head. 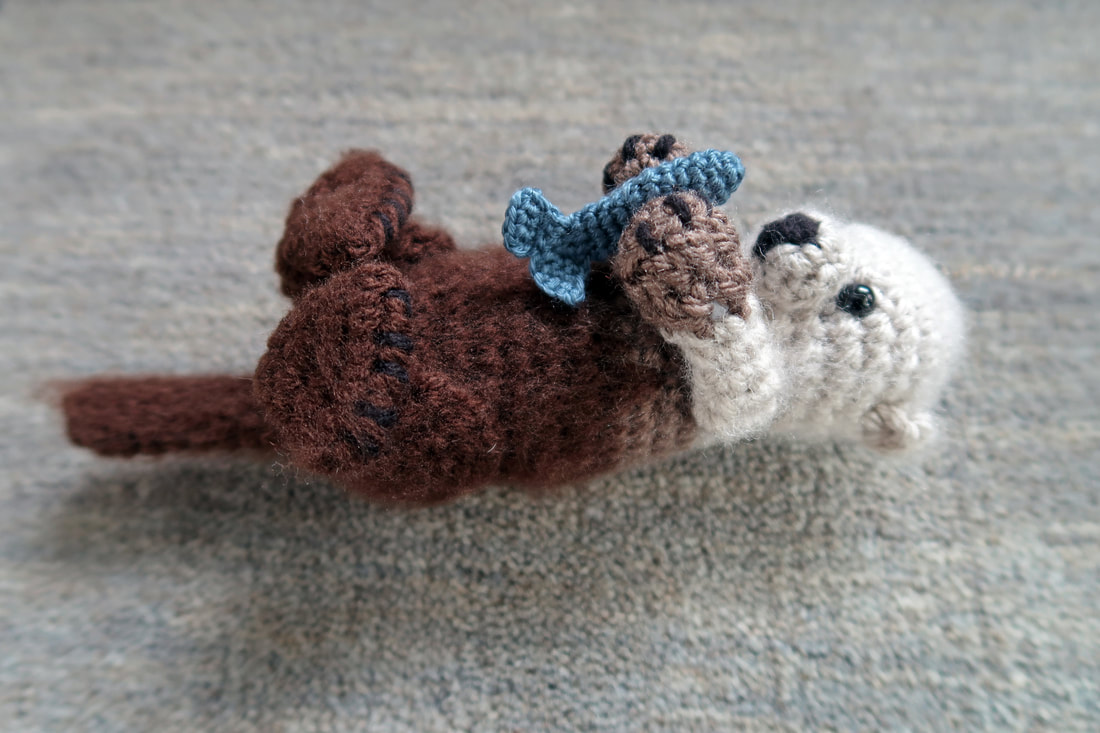
4 Comments
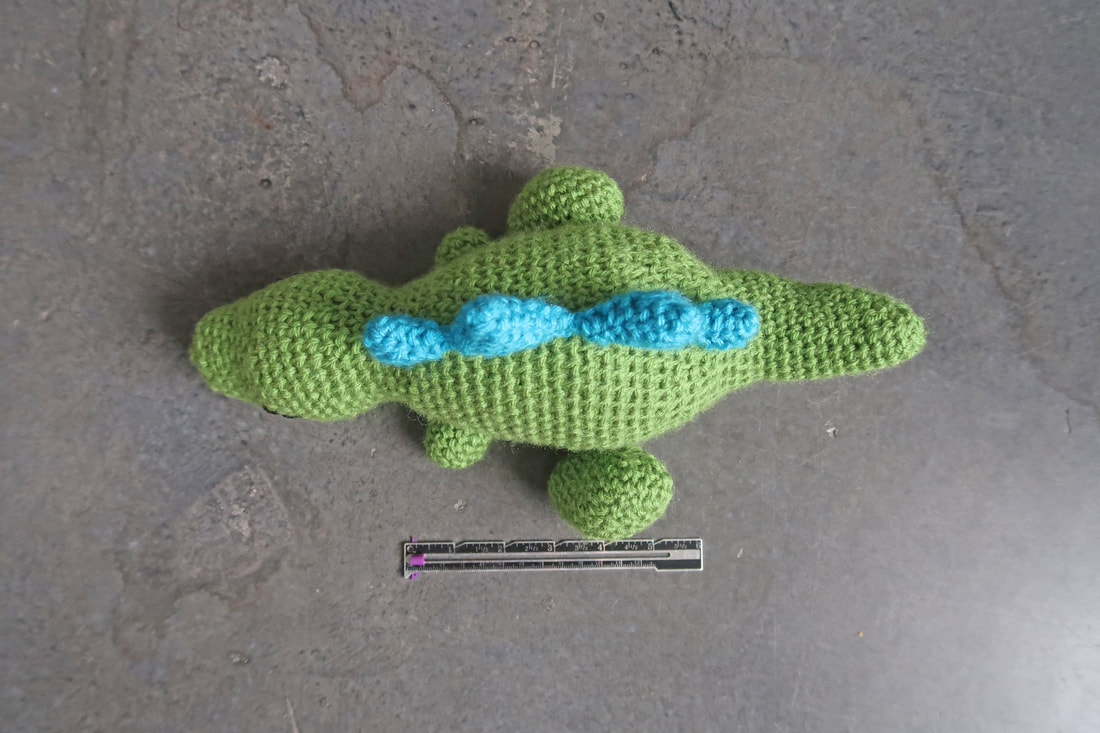
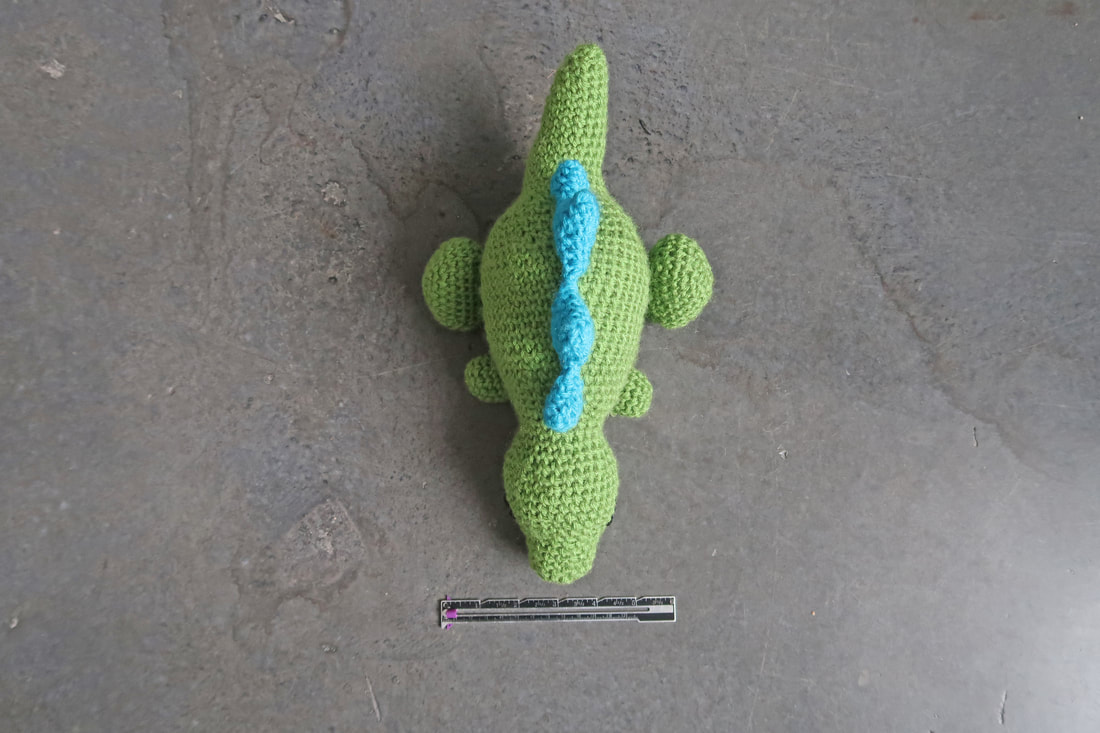
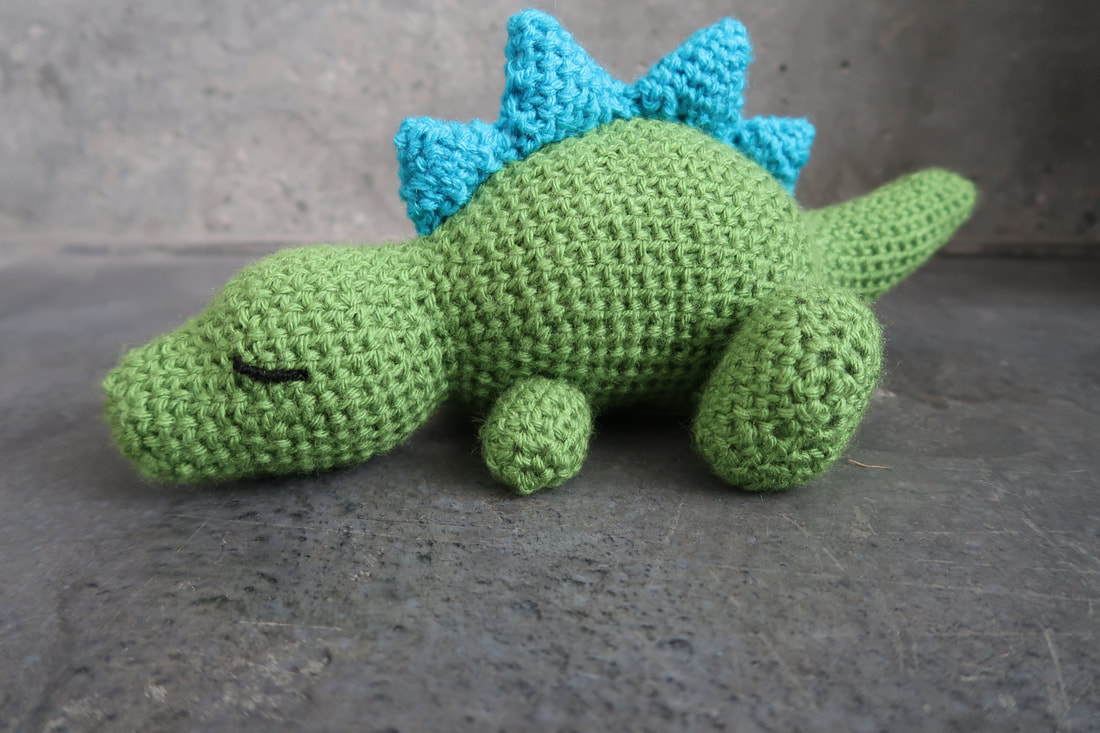 This is a free pattern for the sleeping dinosaur which I created myself. This has not been validated by others, so please let me know if any of the steps below are incorrect. You are welcome to use this pattern, but please cite my website whenever possible. Abbreviations: Ch = chain Sc = single crochet St/sts = stitch/stitches Inc = increase or 2 sc in one stitch Dec = decrease or 2 sc together Even = same number of stiches as previous row/round. Materials: 4.25mm hook Medium weight [4] yarn Tapestry needle Scissors Stitch markers The dinosaur’s body is created as a single piece. Starting at head (working in rounds):
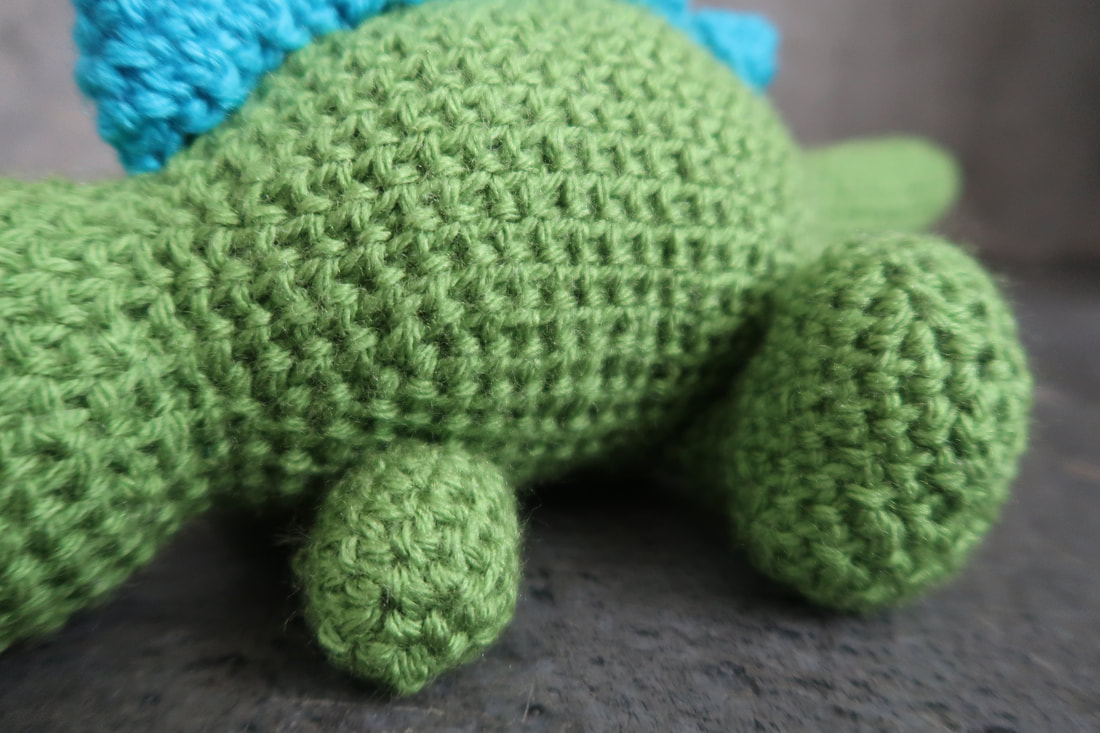 Rear leg (make 2)
Front leg (make 2)
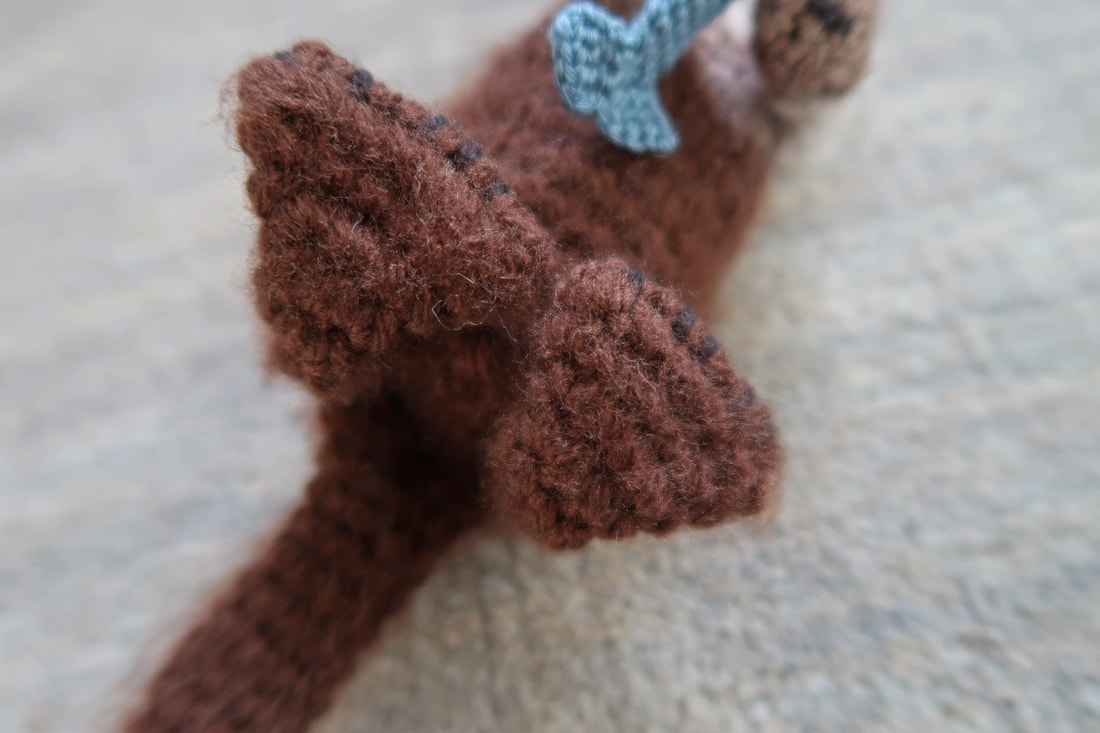
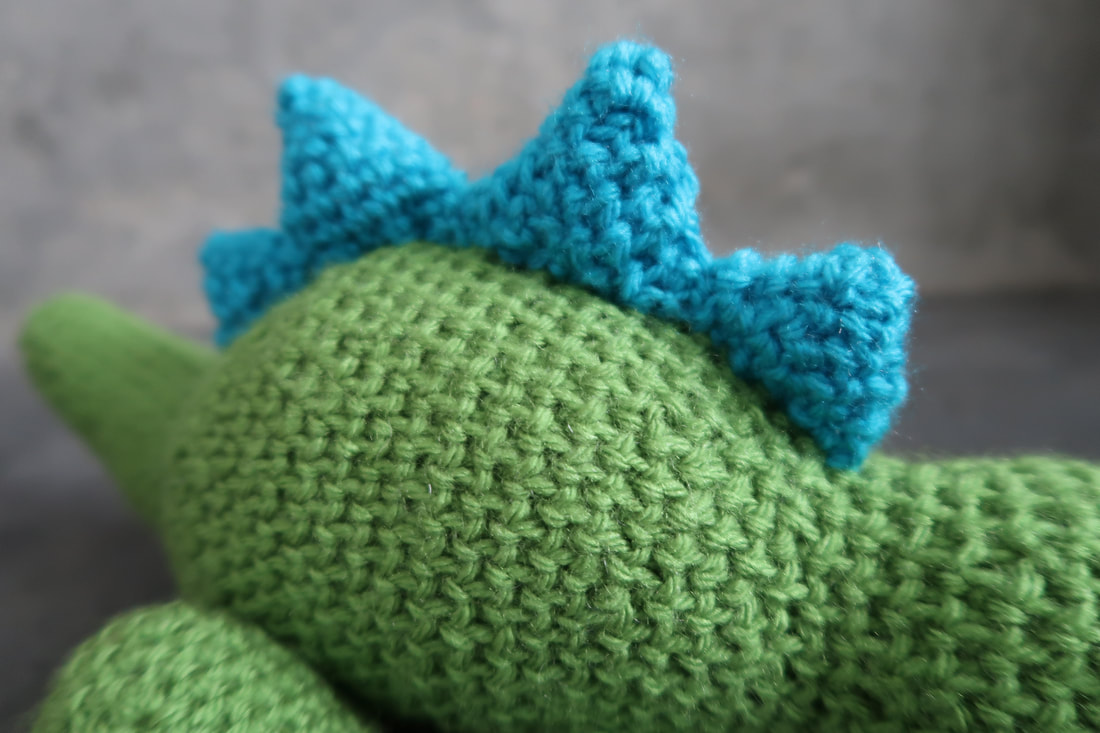 Dorsal spike (small; make 2)
Dorsal spike (large; make 2)
Finishing
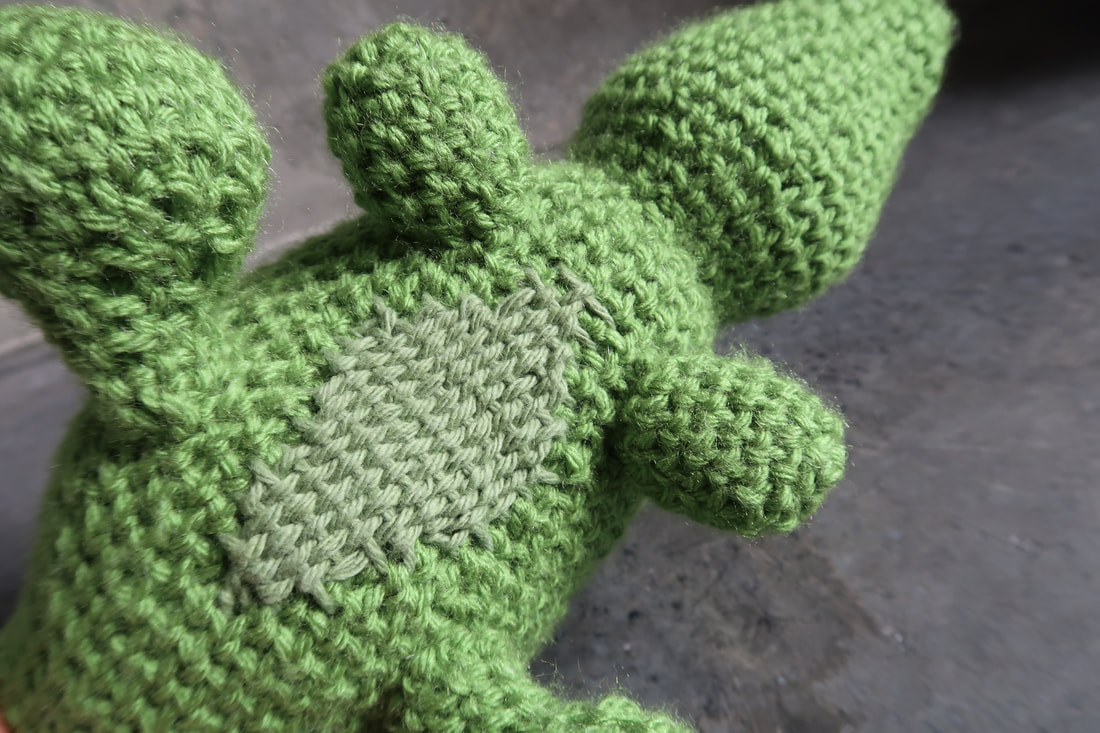 Woven tummy detail.
|

 RSS Feed
