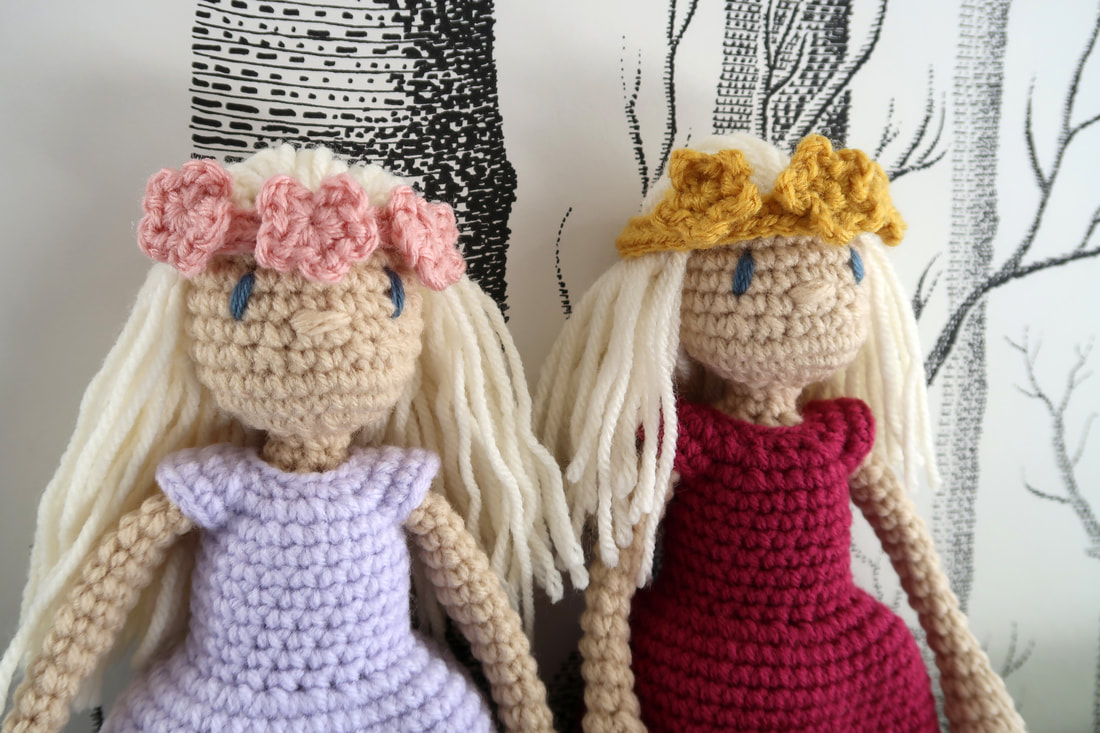
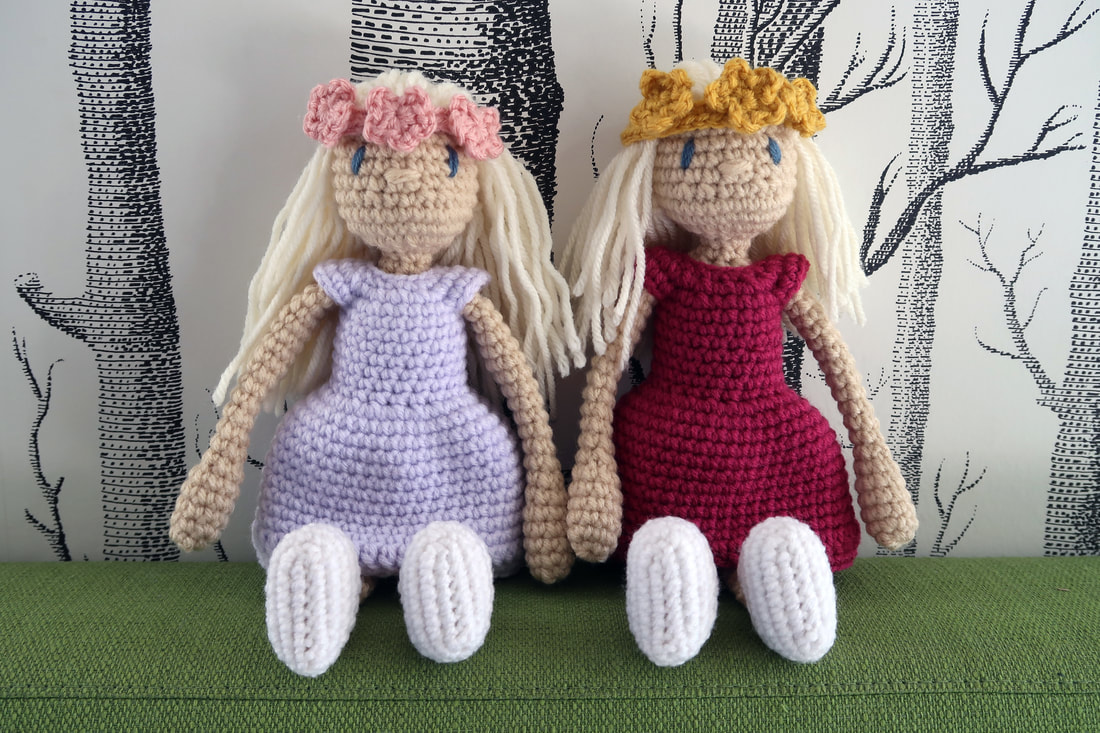
 In the magazine Simply Crochet, there was a special TOFT 2018 calendar which included amigurumi patterns for dress-up dolls and outfits. These dolls are smaller than the dolls in Kerry Lord's book Edward's Crochet Doll Emporium. Personally, I think I like the size of these better and they build up relatively faster. 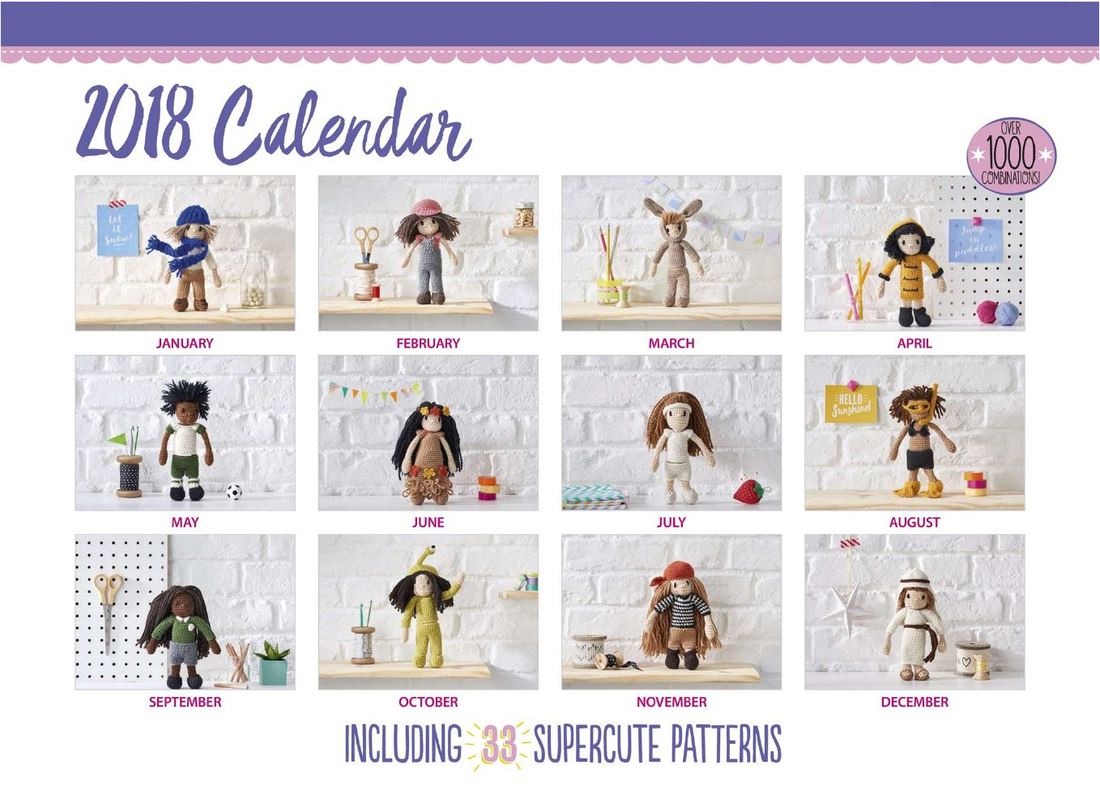 A dress-up doll for each month I also prefer this mini doll more, as Lord opted for a more uniform mid-section where the larger dolls in the 'Doll Emporium' book all have bulging tummies; much like the animals in her other books. 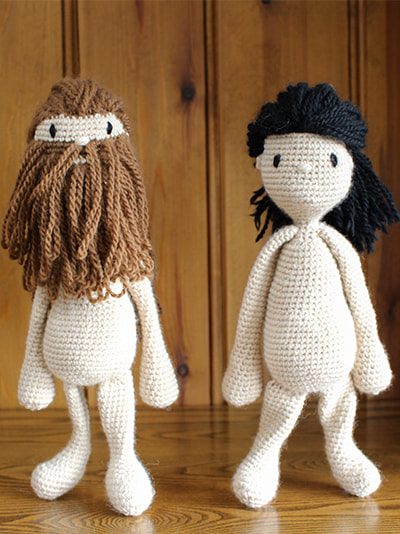 Image taken from the TOFT website.
0 Comments
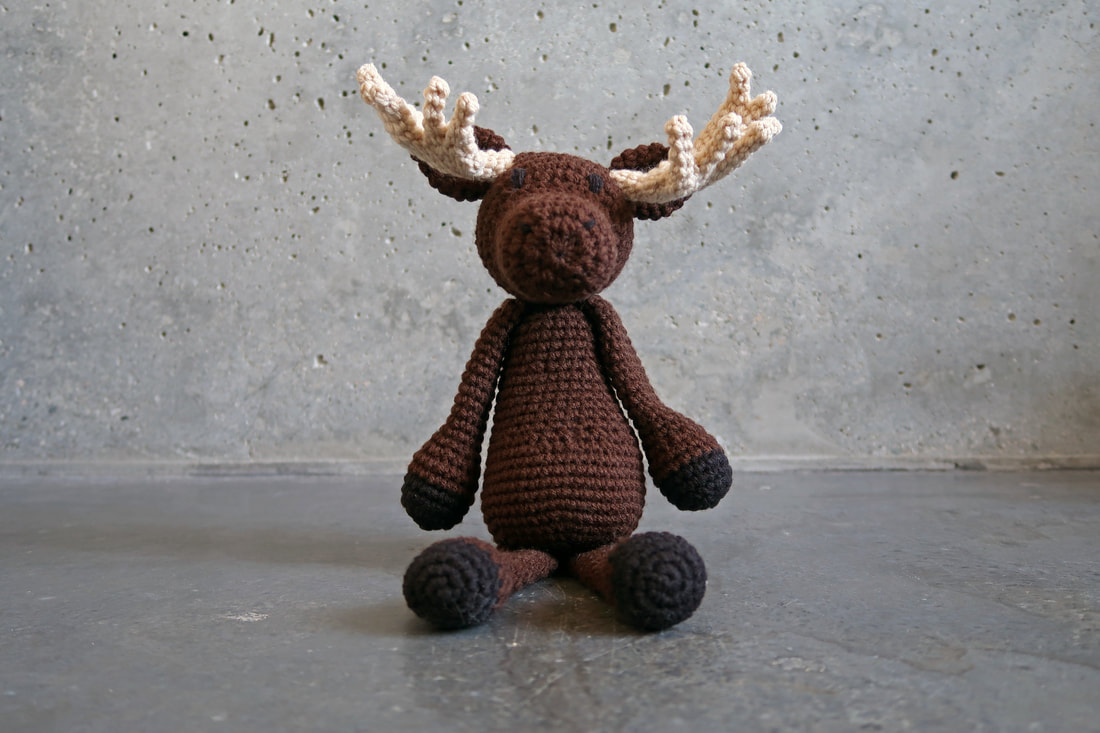 Heather the moose is based on the Highland Cow pattern and modified with moose antlers. Pipe cleaners provide some rigidity and shape to the antlers.
Materials used: 3.5 mm hook 1. Loops & Threads Impeccable yarn in Chocolate; medium weight [4], 100% acrylic. 2. Loops & Threads Impeccable yarn in Black; medium weight [4], 100% acrylic. 3. Loops & Threads Impeccable yarn in Heather; medium weight [4], 100% acrylic. 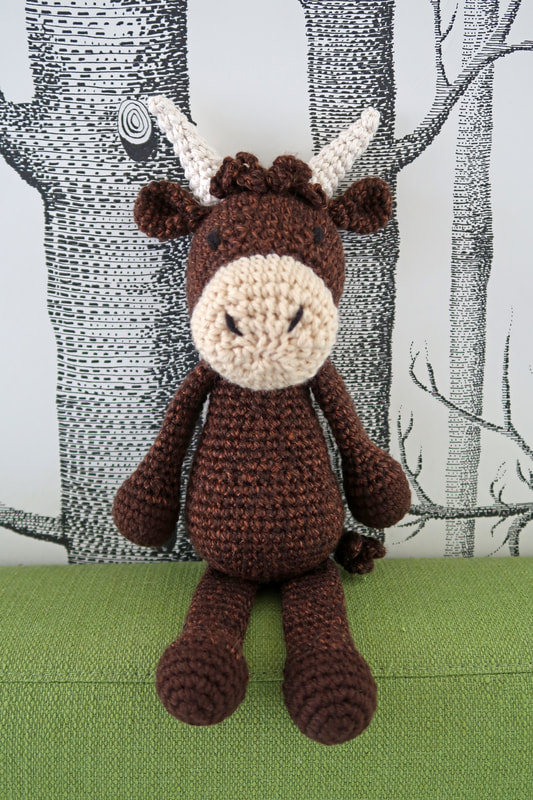 Materials used:
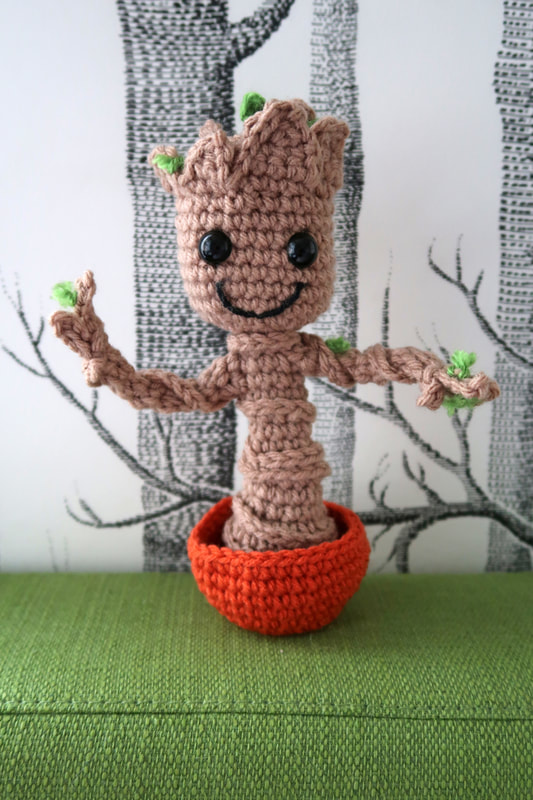
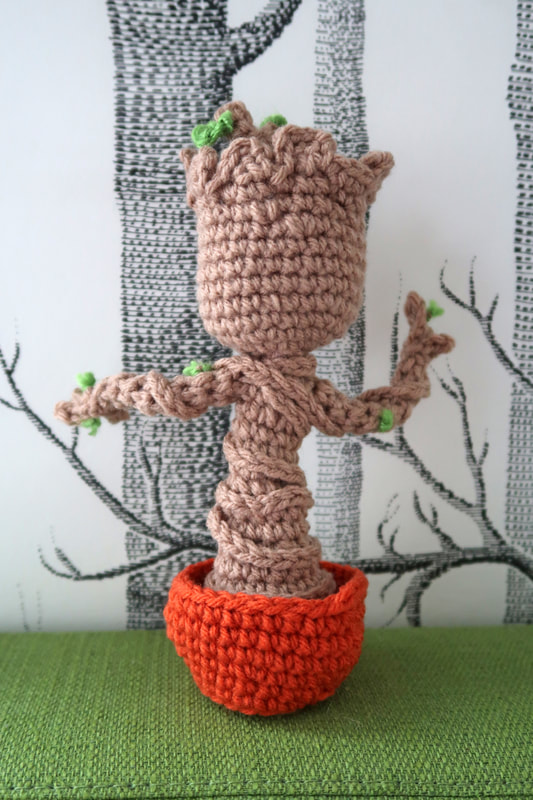
3.5 mm crochet hook 1. Lion Brand Heartland in Sequoia; medium weight [4], 100% acrylic. 2. Loops & Threads in Chocolate; medium weight [4], 100% acrylic. 3. Bernat Handicrafter cotton yarn in off-white; medium weight [4], 100% cotton. 4. Some black yarn for the eyes and nostrils. Couldn't resist making Baby Groot! Want to make one too? I used this free pattern by Twinkie Chan.
What did I do differently? I did not have an actual plant pot to put Baby Groot in so I made my own. Also, I didn't have the patience to make all the little leaves as instructed; instead I created fringe knots. Materials used:
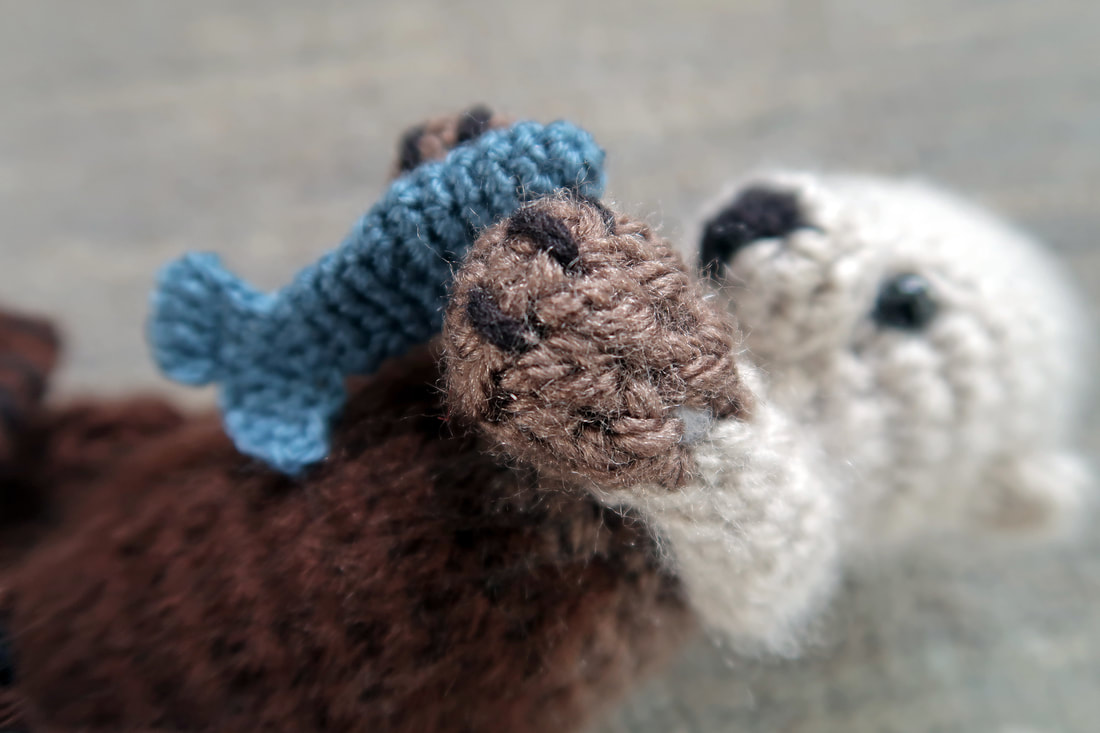
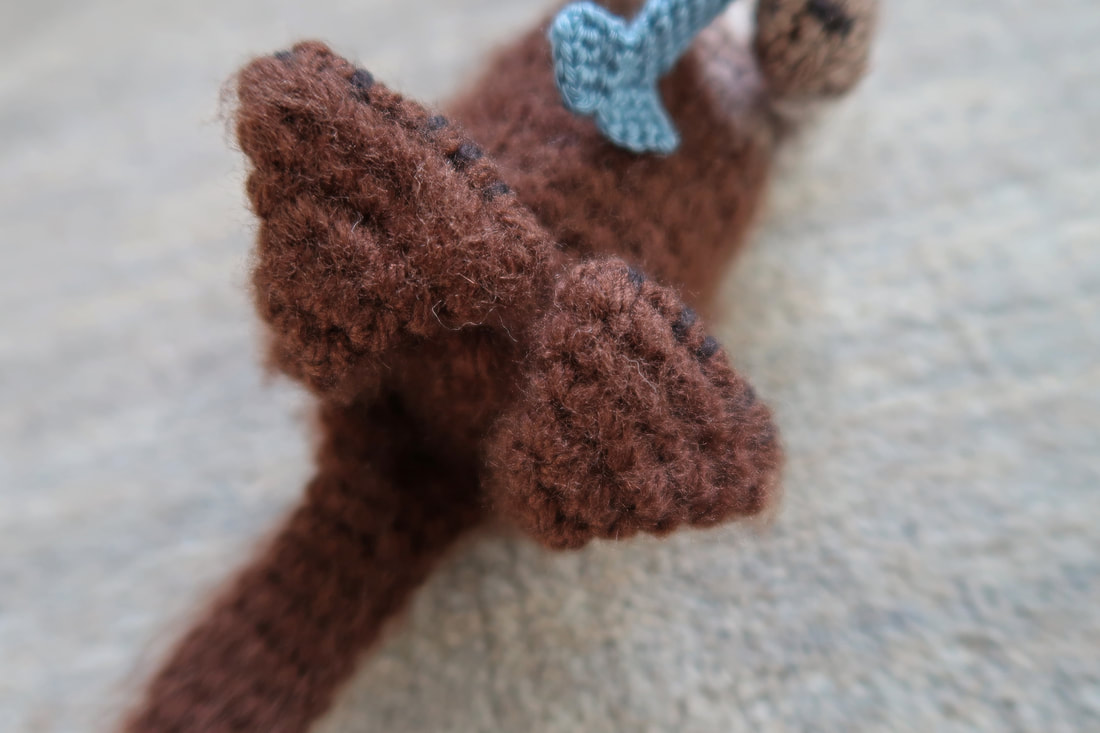
3.5 mm crochet hook 1. Baby Groot body: Loops & Threads in Soft Taupe; medium weight [4]. 2. Plant pot: Loops & Threads Impeccable in Pumpkin; medium weigh [4]. 3. Leaves: Lion Brand Vanna's Choice in Fern; medium weight [4]. 4. Two safety eyes: 10 mm 5. Some black yarn for the mouth. Say hello to my sea otter; inspired by the 'otterly' adorable sea otters at the Vancouver Aquarium.  Creating your own creature from scratch is rewarding, I must say. You have to apply all the crochet techniques you know, and the ones you will learn, and put everything together in such a way to create your creature. There were definitely some parts which required some trial and error. Sometimes I would start a certain way but realize the stitches were not coming together as I envisioned, so I would undo it all and try again. This definitely adds work and time but it's worth it, and I'm quite pleased with how this little guy turned out. 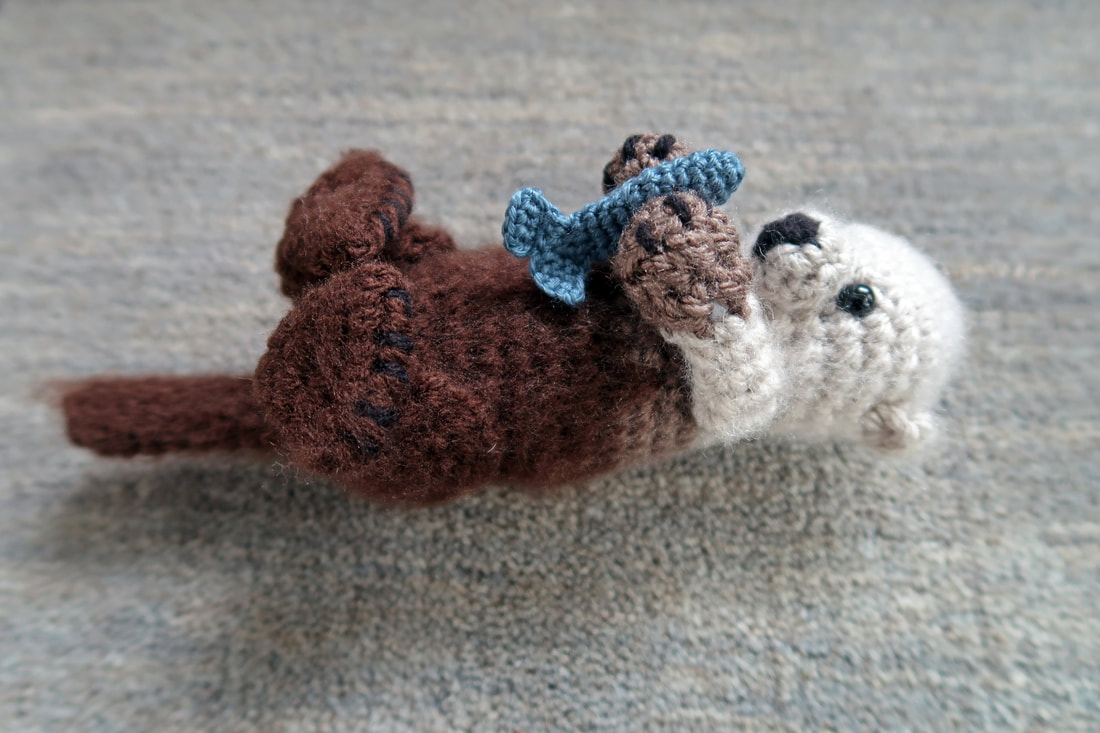 I did not write the pattern first; with the exception of the head, the pattern was created row by row as I stitched along. I already had an idea of what size to make the head and then 'winged it' from there. I did sketch out how I wanted the sea otter to look and looked at a lot of pictures of sea otters beforehand. By creating a sketch beforehand, I felt I had a good idea of the proportions of each part. I also used the size of past projects to help me envision what size of sea otter to create and how many rows to stitch. For the free pattern, please click here.
I brushed the yarn to create a 'furry' look and to finish it off, made a little fish the sea otter can hold. Materials used:
3.5mm crochet hook, stuffing, safety eyes. 1. Head and arms: Lion Brand Vanna's Choice in Linen; medium weight [4]. 2. Paws and upper part of body: Lion Brand Vanna's Choice in Taupe; medium weight [4]. 3. Bottom half of body, tail, feet: Loops & Threads Impeccable in Chocolate; medium weight [4]. A small amount of black yarn was also used for the nose and claws. |
Melissa LuangsiripanyaHi there! I'm a self-taught casual crocheter. Here you will find more details on how I made my projects as well as stories of hardship, frustrations and success! Archives
July 2018
Categories
All
|